

When you hear the words “self-watering planter” it’s tempting to think you’ve found a miraculous way to avoid one of the most time consuming aspects of plant care, but before you move all your plants to this type of planter, let’s dig in to how self-watering planters work, and the best way to use them to keep your plants healthy.
How Self-Watering Planters Work
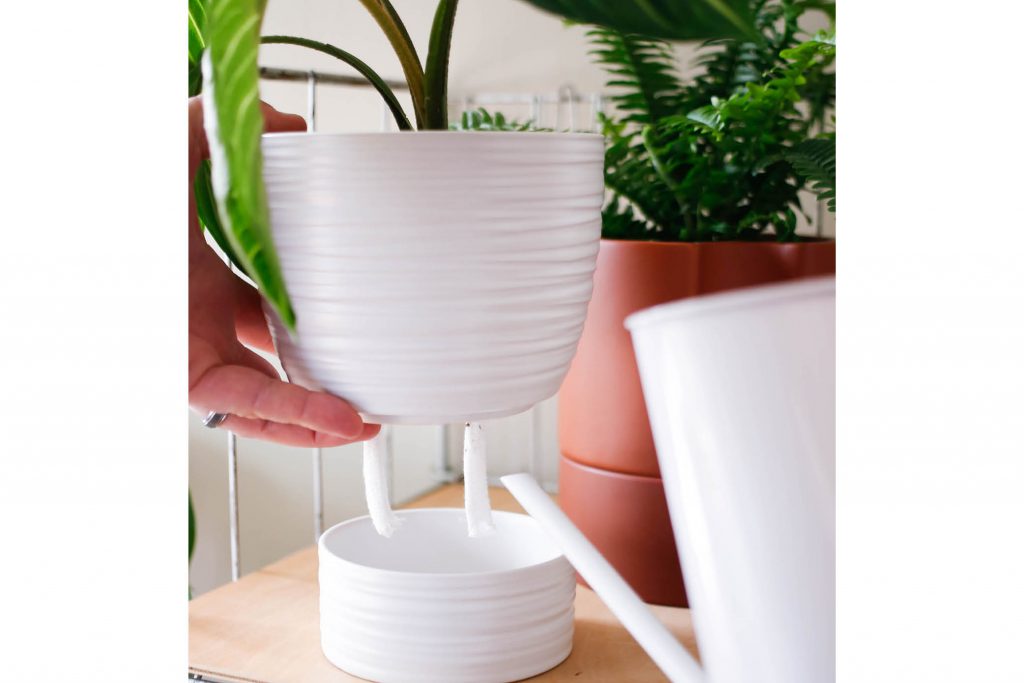
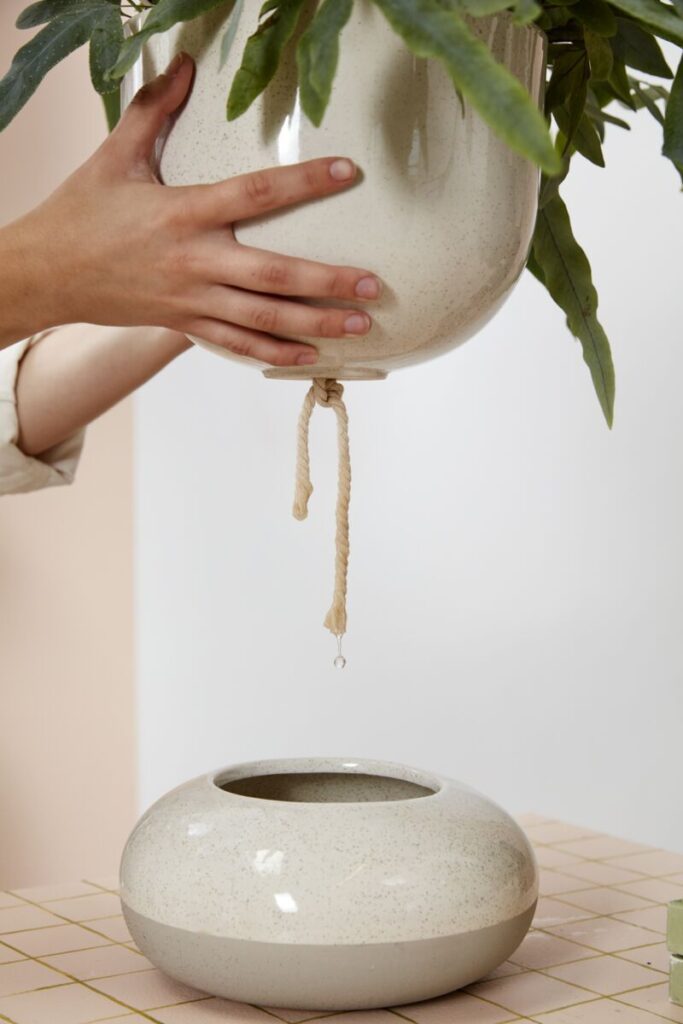
Most self-watering planters utilize a length of absorbent cord (referred to as a wick), which is fed through holes at the bottom of the planter, and into a tray below that serves as a water reservoir. Through a process called capillary action (which is the same process at work when you bottom-water), water is drawn up into the wick, and from the wick into the soil until the soil is moist enough that it can’t absorb any further water. To keep the soil moist, you just need to keep the reservoir full of water and the wick will continue to draw the moisture up into the soil.
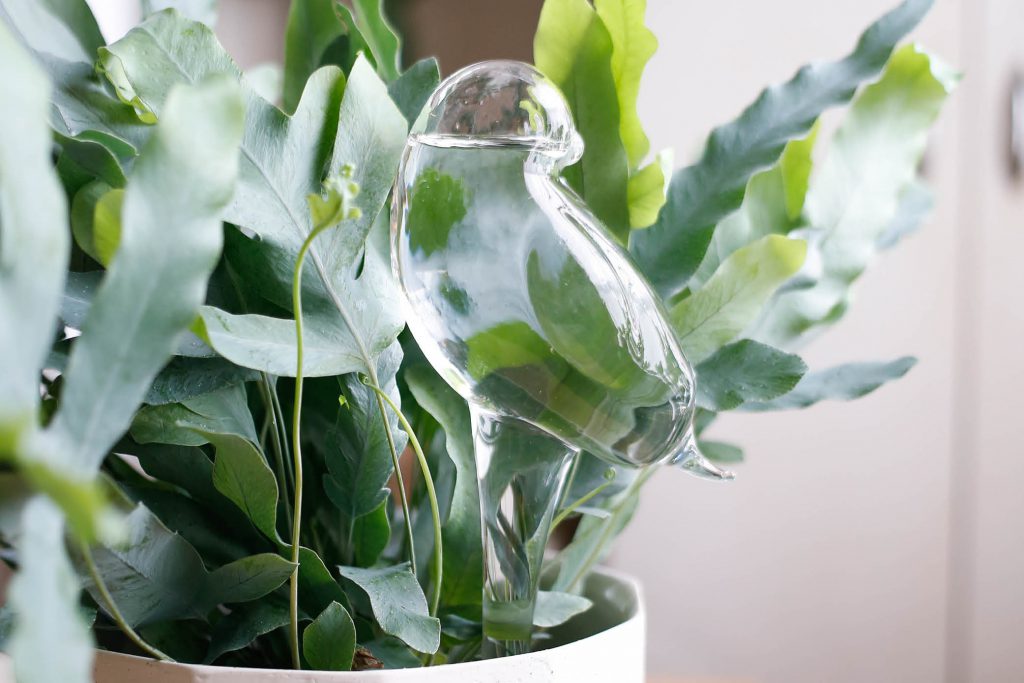
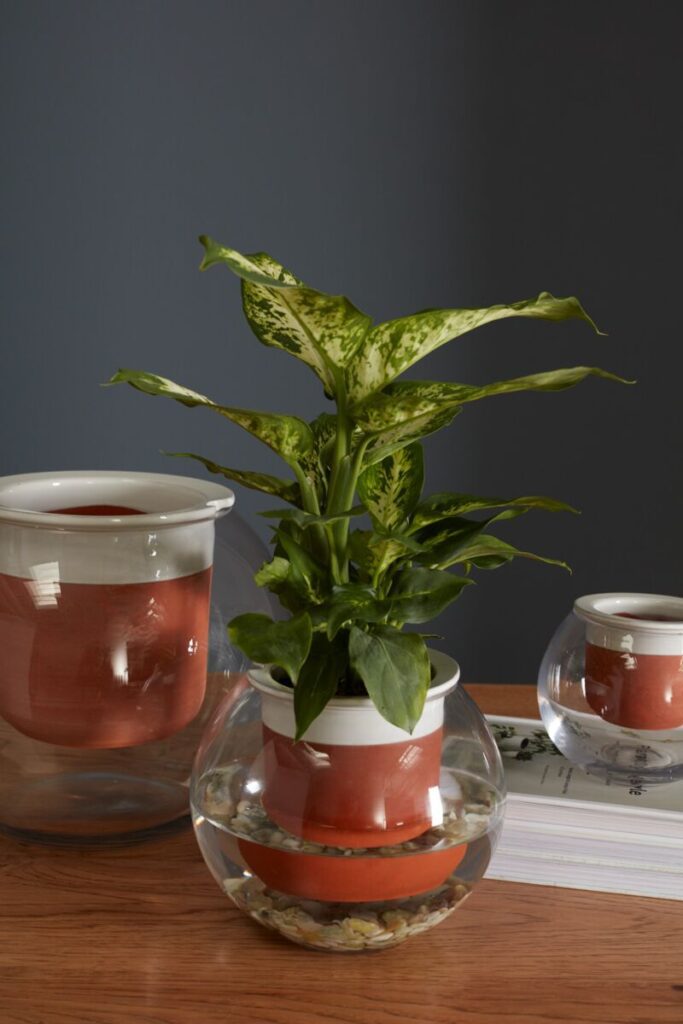
There are also self-watering inserts you can use to deliver a slow trickle of water into the soil in order to keep it moist. Fill the insert ¾ of the way full with water, insert into the soil, and a weak vacuum forms that prevents the water from all coming out at once. As the soil dries, air pockets form and the vacuum seal is broken, allowing water to trickle out until the soil is moist again.
When To Use a Self-Watering Planter
Though it may sound attractive to have plants that water themselves, a self-watering setup isn’t the right fit for every plant or every situation. These planters are best for:
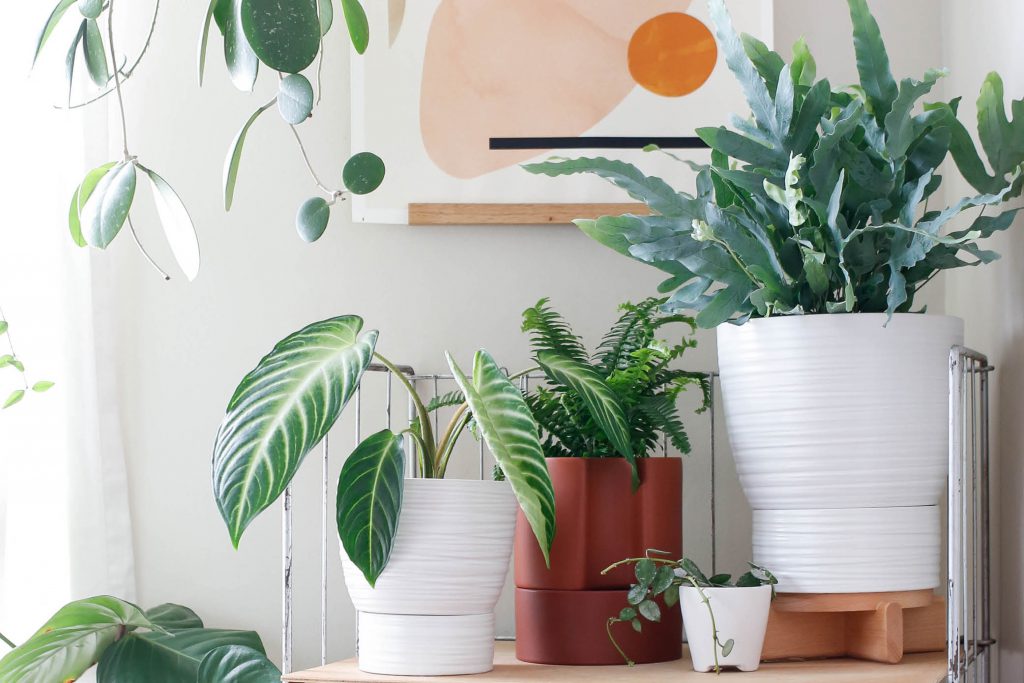
Plants that do well with evenly moist soil and don’t need to dry out between waterings.
This includes:
Caladium
Alocasia
Calathea
Maranta
Ferns
Asplenium (Bird’s Nest Fern)
Selaginella (Club Moss)
Vacation watering if your plants will need water before you return.
When using self-watering planters this way, skip any plants that can tolerate drying out all the way down and instead just water those thoroughly before leaving. This will help prevent root rot that may occur in overly wet soil for plants that have shallow or sensitive roots.
How to Keep Plants Healthy in Self-Watering Planters
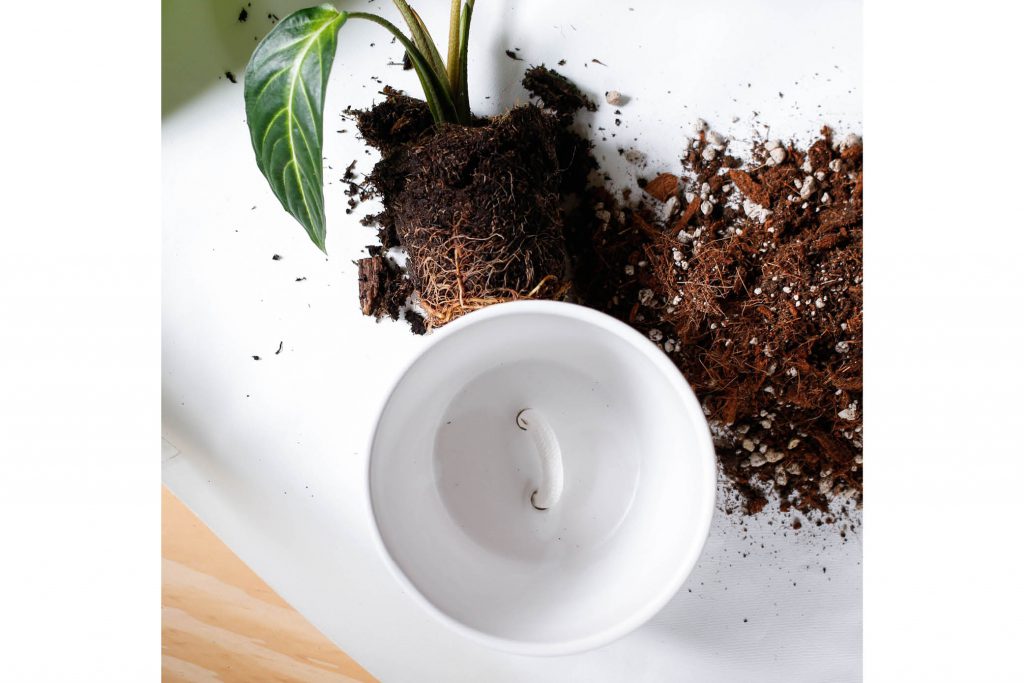
Use a potting mix that allows more oxygen to flow. Look for a chunky mix intended for houseplants that drains well, but can still hold some moisture. Avoid heavy potting mixes meant for garden beds, or cheap potting soil that is too dense and doesn’t drain well. Note- chunky soil may not work well with a trickle watering insert since it allows more air pockets to form so water will trickle out faster.
Start with a well-watered plant. Both self-watering planters and trickle watering inserts work best if you start with a thoroughly watered plant where the soil is moist (but not soggy).
Keep things clean and fresh. Change the water in the water tray or trickle insert often to ensure it doesn’t get stagnant which can attract fungus gnats. Wash the tray or insert if you notice mildew or algae forming.
Drainage is key. As with regular planters, any self-watering setup should have ample drainage- especially trickle watering inserts. In the event that excess water ends up in the soil, drainage holes will ensure that excess water has somewhere to go, rather than building up at the bottom of the pot where the roots are (which can cause root rot).
Adjust as needed. If plant leaves start to yellow and the plant is getting adequate light, try emptying the reservoir and allow the soil to dry out. If no further leaves turn yellow you’ll know that the soil was overly moist and the plant isn’t a great candidate for a self-watering planter. No need to remove the plant from the planter though- just use it like you would any other planter with a drainage hole and water from the top when the soil has dried to the correct level.
Self-watering planters and inserts can definitely be a helpful tool in keeping your plants hydrated. Just use them wisely so your plants can thrive!
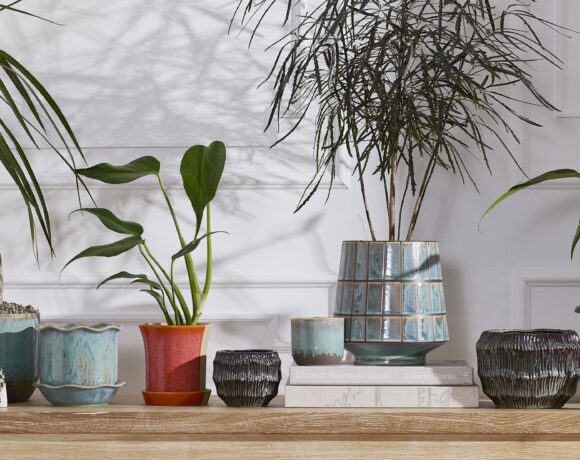
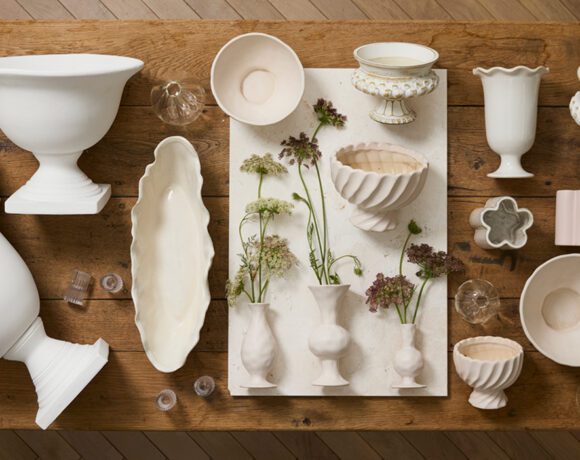
Accent Decor offers a full assortment of self-watering planters that are both functional and stylish, along with watering self-watering inserts. To shop Accent Decor’s wholesale decor and wholesale pots and planters including all new and flower, plant and home products, visit accentdecor.com.
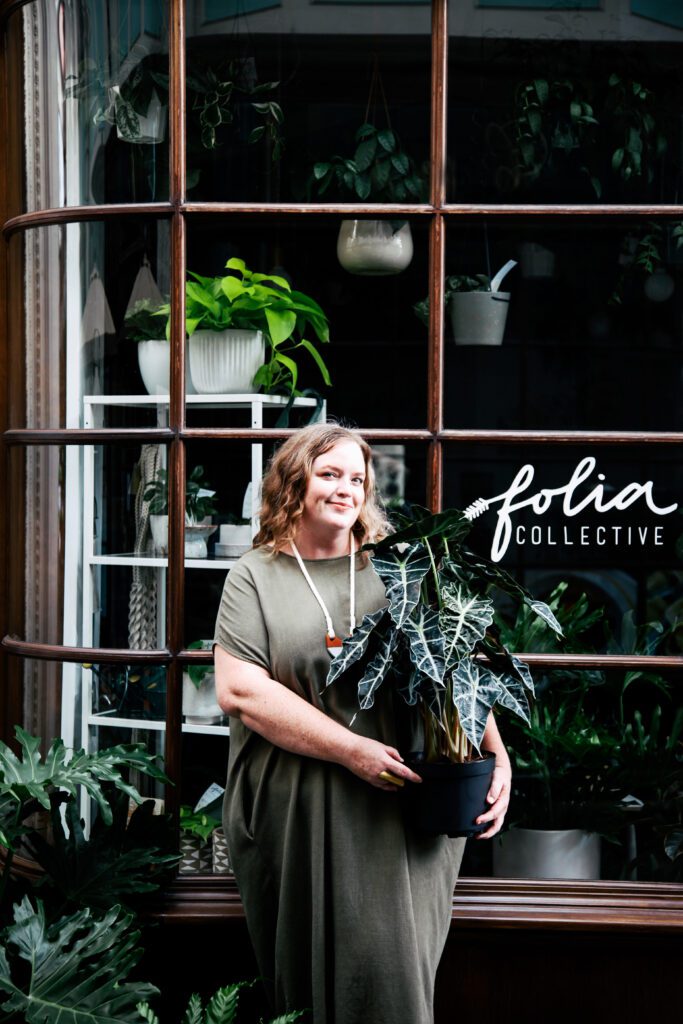
About the author: Danae Horst is the founder of Los Angeles based plant boutique and plant styling studio, Folia Collective. Her life-long love of plants and interior styling, paired with her desire to empower people to keep their plants happy and healthy, led her to start Folia in 2016. In her past work as an interior photo stylist and plant care columnist at the Jungalow, and in the years since starting Folia, Danae has guided tens of thousands of people to the right plants for their space and lifestyle. Danae’s work and plant advice have been featured in the Wallstreet Journal, Washington Post, LA Times, House Beautiful, Better Homes & Gardens, Fine Gardening, and more. The Folia Instagram feed was called a “Plant-Filled Instagram That Will Turn Your Black Thumb Green” by Domino Magazine. Danae’s book, Houseplants For All is available anywhere books are sold. Danae, her husband Bill, and their rescue dog Homer live in a little plant-filled bungalow in Pasadena, California.
READY TO BECOME A CUSTOMER?
A quick and easy registration gives you access to design-forward wholesale decor, wholesale pricing, product details ordering options, and much more! Register now.

COMMENTS ARE OFF THIS POST